Chassis Parts
Since the last update, I’ve received my 3.4 mm carbide drill bits. They work really well in the Carvera, although you have to do some tinkering to get the collars onto them, since you can’t pass a 3.4 mm bit through a 3.175 mm hole.
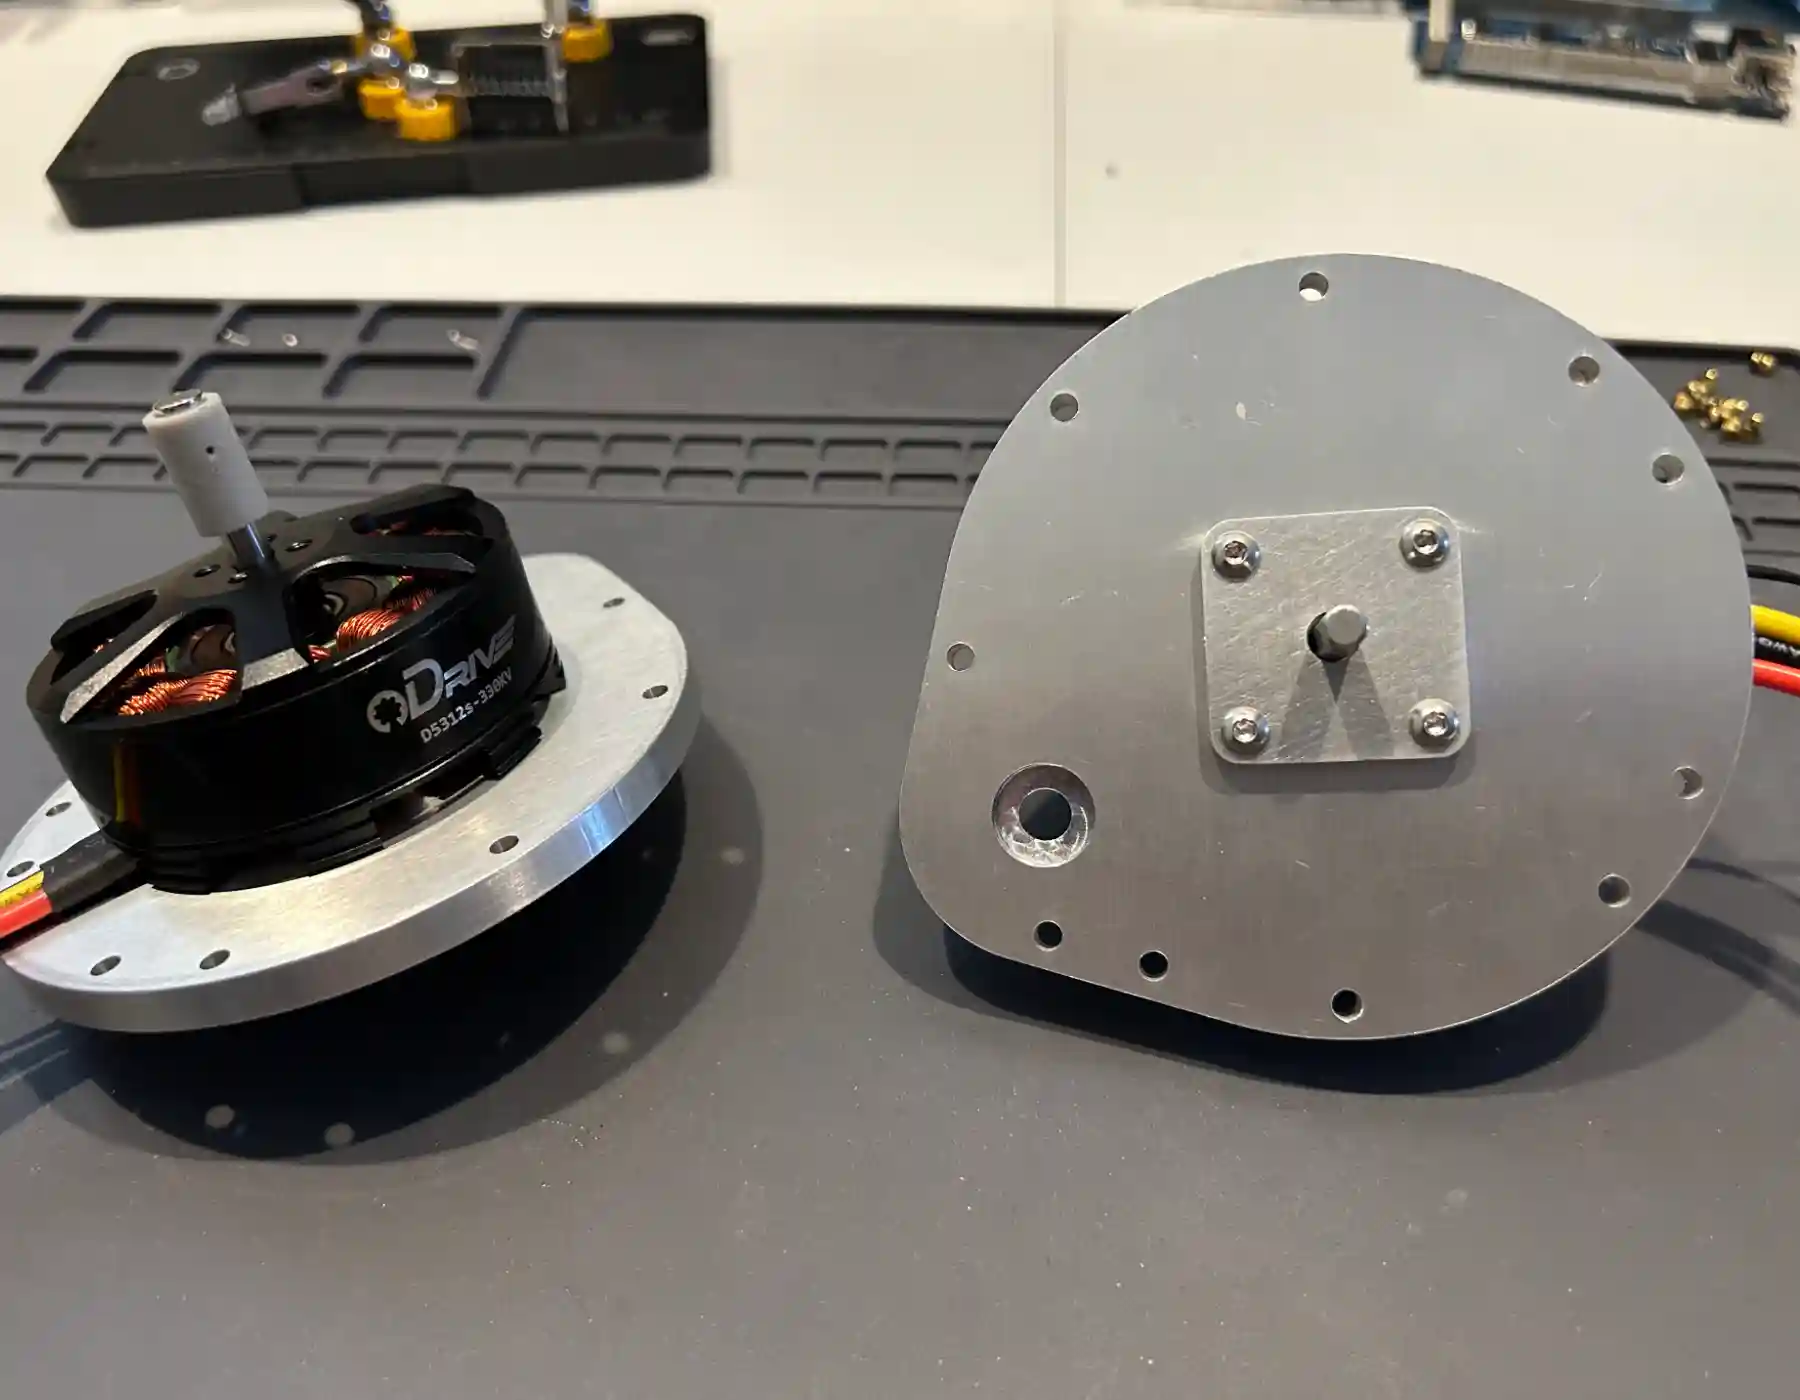
After a lot of learning and mistakes, I managed to machine the aluminum plates that hold the motors, as well as some small aluminum bearing retainers to keep the flanged bearings from falling out. The retainers could have been printed, but half the point of this project is intentionally overdoing things as a learning experience.
I’ve partially assembled the ODrive motors onto the plates. The fit is nice and tight, and they spin freely. If you look closely, you’ll see the gray magnet coupling attached to the back end of the shaft. That’s a resin print that holds and aligns the magnet needed for the ODrive encoder to work. It requires a precise fit, so I printed it with my resin printer. I could also have machined it out of brass or aluminum (something non-ferrous), but printing it was easier. I probably could have gotten away with just gluing the magnet to the end of the shaft, but I didn’t want to risk it in when doing it right is so easy.
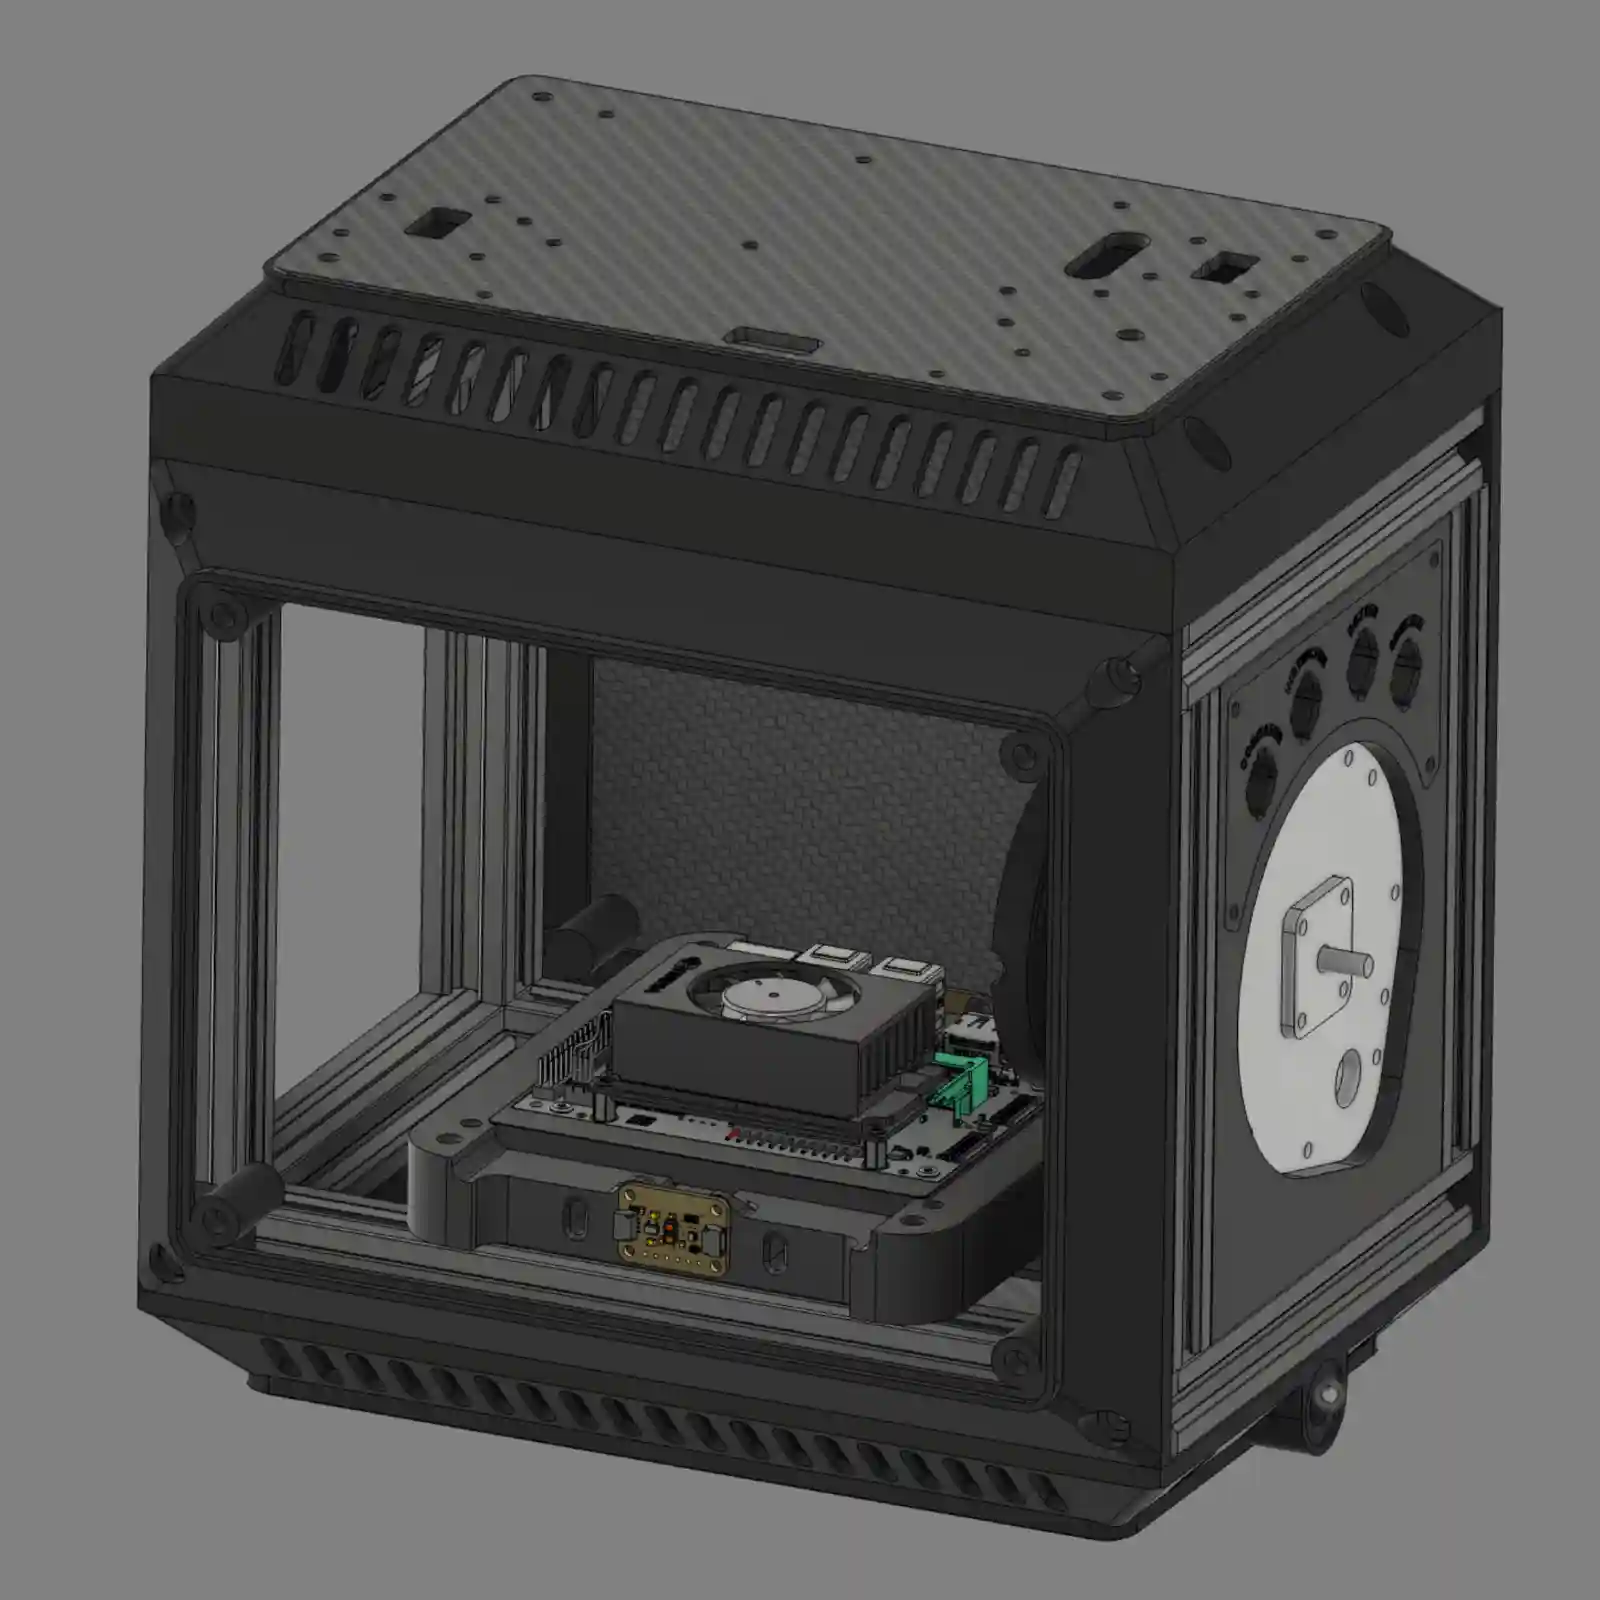
The current goal is to completely assemble the chassis. Both motor plate assemblies and the printed frame pieces (top, bottom, front, and rear) are needed. The idea is to use printed frames with removable carbon fiber access panels to cover up Calvin’s internals. The frames need to fit the panels relatively precisely, so warping is a problem. And unfortunately, I had a lot of warping problems.
After a few tries with the usual tricks, I decided to try something new and ordered some PET-CF17 carbon fiber filament. I’ve never used it before, but it’s supposed to help. However, to use it, I needed a new hardened nozzle for my Prusa Core ONE printer. I’m still waiting on that, and since the motor plates are finished, I’m working on a few things I hadn’t planned to do until later.
One thing that’s already done—but will be in another post—is the label plates for the power switches on either side of the robot. I’m also working out how to machine the power and ground busses from C110 copper bar. I know I don’t need to make them so robust or precise, but it’s a good opportunity to try out the Carvera with a new material.